
The Instax Mini 11 will allow you to take beautiful photos and print them off immediately. However, unlike digital cameras, it will require you to load film into the machine. You need to do this carefully, as the incorrect method might damage the film and affect the quality of your pictures.
So, how to put film in Instax Mini 11?
First, the film package has to be opened carefully, avoiding bending or touching the film. Then, apply pressure to the top of the film compartment to open it. Align the yellow strips on the top of the film with the strips on the camera. Close the compartment and hit the shutter button.
Adding film to an Instax Mini 11 will become a fairly routine task.
Once you know the correct routine, it will only take you a few minutes. Keep reading to learn everything you need to know to add a new roll of film to the Instax Mini 11.
The good news is learning how to put film in Instax Mini 11 isn’t difficult. Here are the steps that you will need to follow:


How To Put Film In Instax Mini 11
A simple and easy step-by-step guide of how to put film in Instax Mini 11. Follow the 7 steps below to insert a new film into your Mini 11 and you will be ready to start capturing photos in 10 minutes or less!
Materials
- Instax Mini 11
- 2 x AA Batteries
Tools
- Scissor to open the film packet
Instructions
1. Add the batteries.
Ideally, both batteries will be fully charged. You’ll need to slide down on the battery compartment on the camera’s left side to add the batteries.
2. Carefully open the film.
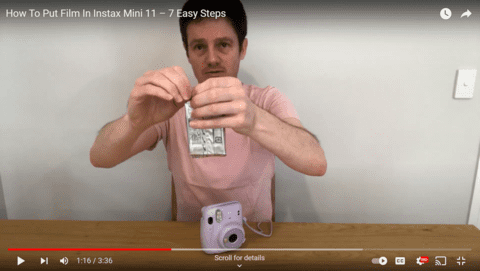

The film should come in a sealed package, a cartridge. Avoid putting pressure on the edge of the packet. You don’t want to bend the film. Don’t touch the cartridges; the oil from your fingers can affect how the photos develop. I always buy my Instax film in bulk to save money 🙂
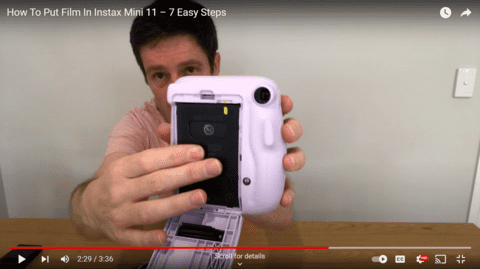
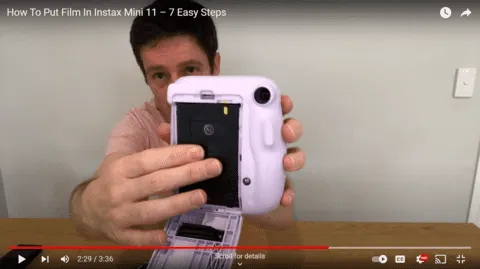
3. Open the film compartment.

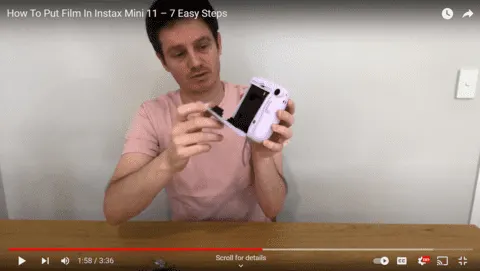
On the back of the Mini 11, you will see a small latch to open the film compartment. Press the latch down to open the compartment.
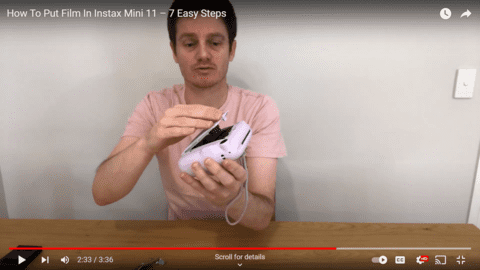
4. Align the film correctly.
You will notice a yellow line on top of the film. A similar yellow line will be on the top of the camera compartment. Make sure that the two line up.
5. Close the film compartment.

Once everything has been appropriately loaded, close the compartment. You don’t want to leave the film exposed to the light for too long, which can damage it.
6. Press the shutter button.
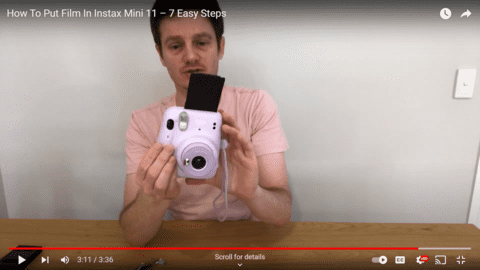

This will eject the black protective slide. Once you do this, the film counter should be updated.
7. Take a photo.


The only thing left to do is take a picture. The print should come out in vibrant colors.
Notes
In case you encounter any difficulties following the steps above, please refer to my video below on how to put film in Instax Mini 11.
Recommended Products
As an Amazon Associate and member of other affiliate programs, I earn from qualifying purchases.
Common Mistakes To Avoid When Adding Film To The Instax Mini 11
Care should be taken to avoid exposing the film to light. This can lead to overexposure. Avoid shaking developing film, as this can sometimes cause blobs. Exposure to high temperatures and water should also be avoided. Don’t crease or fold the film until it has fully developed.
The film can be sensitive, so you must handle it carefully.
You don’t want to expose it to light. If you do, it will impact how the film is developed. There is a high chance that it will end up becoming overdeveloped. Sometimes, the bright light can cause the film to print out white photos.
If this has happened, you should wait for a few pictures.
The lower layers haven’t been exposed to light, so they should print normally. This is why it’s so important to avoid opening the film storage component of the camera until all the film has been used.
Another common mistake is shaking the pictures.
Some people are under the misconception that this can dry them faster. This can disrupt the chemicals, causing some image parts to separate prematurely. As a result, the photos might have blobs.
Here are some of the other common mistakes that you should avoid:
- It’s best to keep the Instax film away from bright lights as it develops.
- Sometimes, high temperatures can negatively impact the quality of the images.
- Avoid folding or creasing the pictures, especially as they are being developed. This can cause them to develop blobs.
- Ensure that the batteries are fully charged. You don’t want to risk the film getting jammed in the camera.
You don’t need to wait long for the film to develop. In many cases, the film will take between 60 to 90 seconds to develop. After this time, it will be as resilient as any other photograph.
What Type Of Film Is Needed For The Instax Mini 11?
Instax Mini film is the only type that will work within the machine. It’s recommended that photographers use products from the official brand, Fujifilm. This film is available in two varieties. Photographers can choose either color or monochrome. Pack sizes will vary.
Many types of film are available on the market.
However, not all will be suitable for use within the Instax Mini 11. If you get the wrong variety, it either won’t fit in the camera or develop properly.
The only type of instant film you can use is the Instax Mini brand, which Fuji produces.
Sticking to officially branded material rather than a cheap knock-off is best. While this might be more expensive, you will be assured of getting a high-quality photo.
There are two types of film you can use.
You can either use color or monochrome. The best option will depend on the kind of approach you want to take. However, you must ensure you use all the film in the camera before switching to the next variety.
This limits exposure to light.
How Long Can You Store Instax Mini 11 Film For?
The film can last for up to four weeks inside the camera. Though recommended, you use it within two weeks for the best-quality images. If stored correctly, it can last for several months in the packaging. Once developed, the photos will last for years.
Sometimes, you won’t be able to use all the film in one session or might want to order in advance. This raises an important question. How long can you store it?
The biggest concern is that it will be exposed to heat, damaging the film and negatively impacting potential prints. Because of this, you should store it in the fridge.
You should store them at 14 degrees Fahrenheit (-10 degrees Celsius). However, you must ensure that you give it at least 12 hours at room temperature before using the film.
Inside the camera, it should last for around a month, though you’ll get the best results if you use it within two weeks. You don’t need to worry about putting the camera in the fridge.
There are a few valuable tips you can use to keep the film in good condition, including:
- Store it in a dry place
- Keep it out of the sunlight wherever possible
- Avoid getting the camera wet
- Stay away from high temperatures
Once you have taken the pictures, the film will be resilient.
If you put it into a photo album, it will be able to last for several years. You must ensure you don’t let them get wet or exposed to extremely high temperatures.
Final Thoughts
The first time you add the film to the Instax Mini 11, it can be tricky. After a few tries, you will master the process. Once you know how it’s done, it should only take 30 seconds.
Leave a comment