Why Are My Polaroids Coming Out White?
Ugh, I remember the day when I took a picture with my cherished Polaroid camera. Excitedly waiting for the photo to develop, I saw a disheartening …

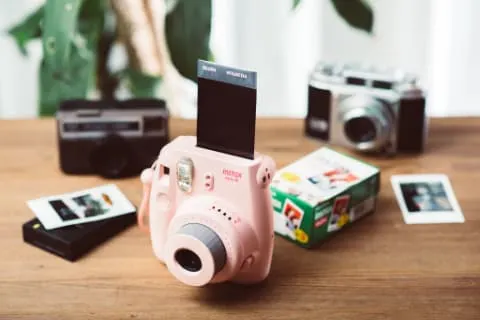
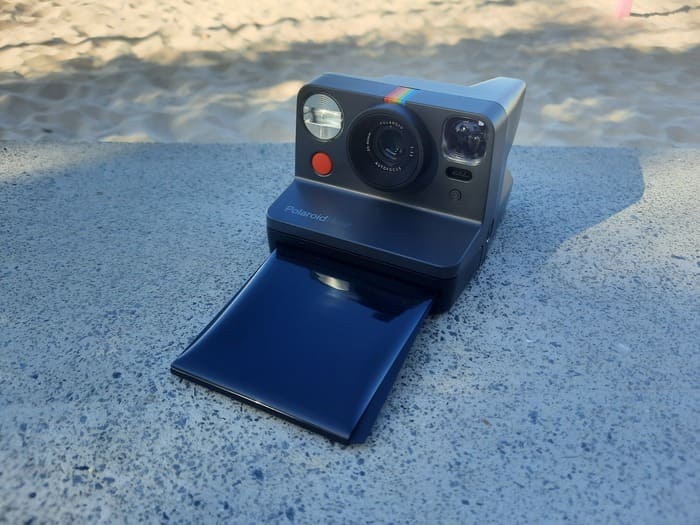
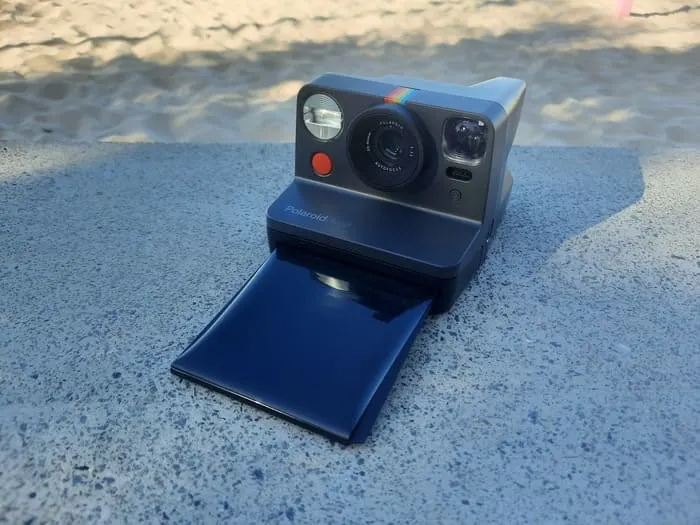
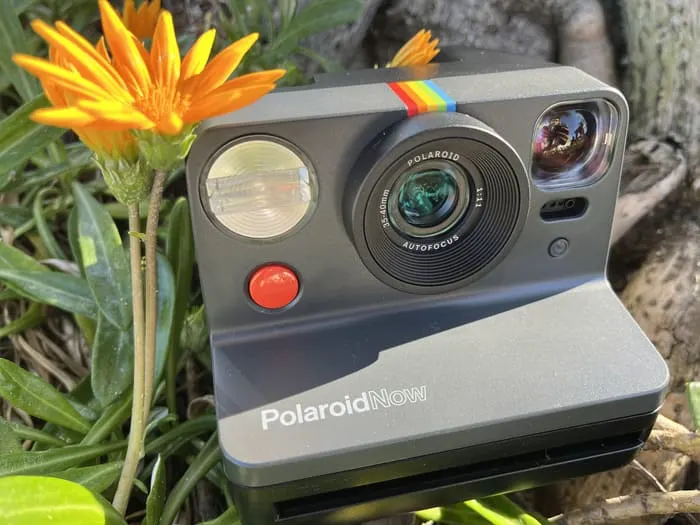
Polaroid cameras are an amazing way to capture special memories and beautiful scenery.
In this section, we include reviews of our favorite Polaroid cameras, answers to frequently asked questions about using Polaroids, and more.
Ugh, I remember the day when I took a picture with my cherished Polaroid camera. Excitedly waiting for the photo to develop, I saw a disheartening …

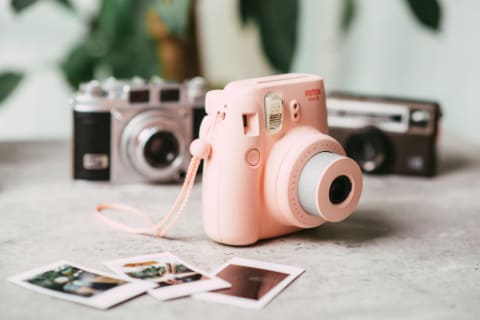
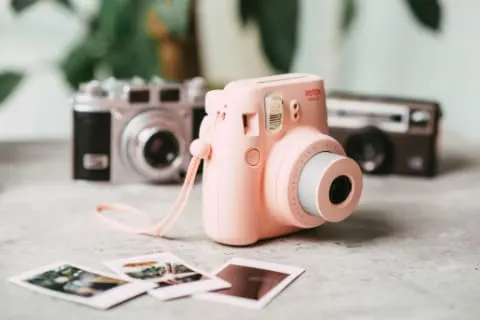
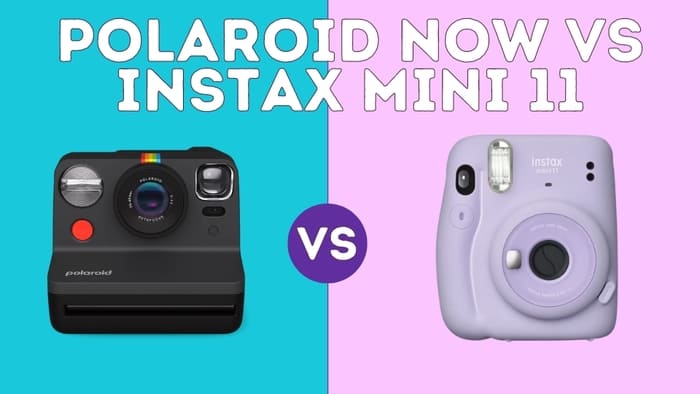
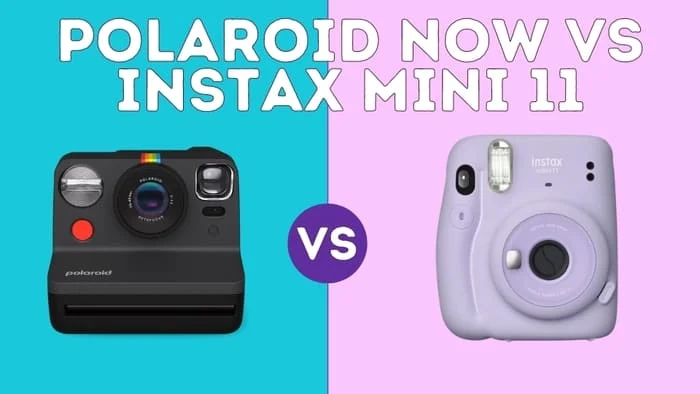
There’s something genuinely magical about instant cameras. In a world where digital photos dominate our lives, the absolute satisfaction of holding a freshly printed image …


Click! You’ve just taken a Polaroid, but now the waiting game begins. Let’s speed it up by shaking it. Many people do it, but should you …


Polaroid cameras are a step away from the others, especially when discussing today’s digital world. A Polaroid gives you what none of the others can, …

Polaroid cameras are easy and fun to use. There can be occasional errors like photo paper jams or the camera not printing photos. One of …


Before smartphones and digital cameras made photography and photographs so accessible, Polaroids instantly allowed people to develop their photos. Today we are spoilt for choice …
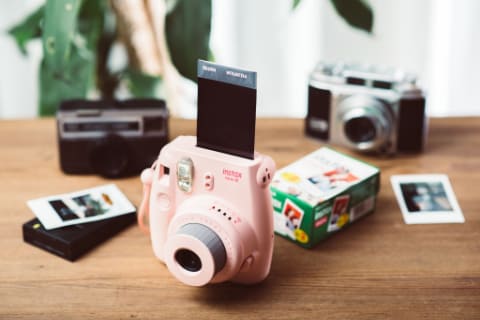
Digital cameras are all the rage nowadays. But, despite that, there’s something irresistible about the 80s feels of instant photography that we can’t shake off. …


Do you remember the first time you ever used a Polaroid camera? The excitement of waiting for that little white square to develop and reveal …

As a seasoned Polaroid user, I know that one of the most important aspects of taking a great Polaroid photo is understanding the size of …


If you’re anything like me, you’ve fallen head over heels for the nostalgic charm of Polaroid cameras. There’s something magical about watching a tangible memory develop …
You’ve got some great ideas for photos you could take with your Polaroid camera, but Fujifilm is the only film available. Can you use the …
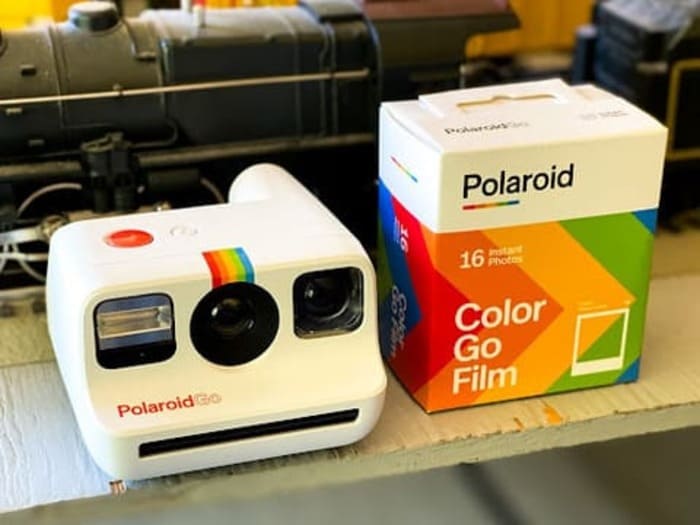
Polaroids have made a massive comeback in the past few years, with good reason! They’re a fun and nostalgic way to capture memories. Plus, they’re …

The Polaroid camera has been a common household item since it was marketed to the public in 1948 in Boston. It sold out minutes after …

If you’re a fan of instant photography, you’ve fallen in love with the classic charm of Polaroid cameras. But have you ever wondered how to …