
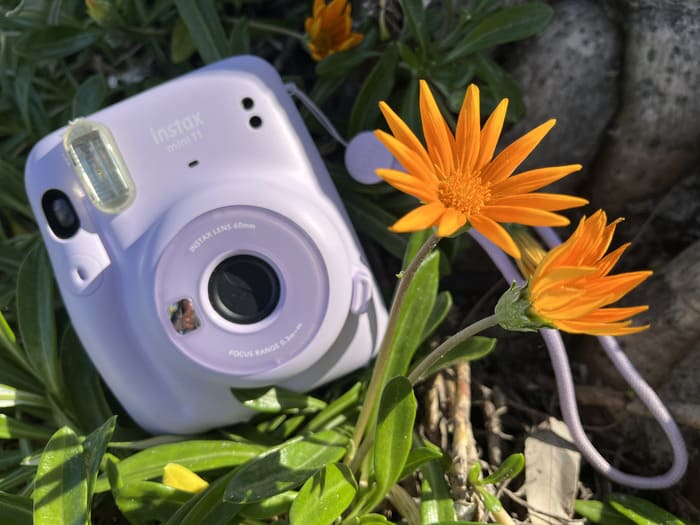
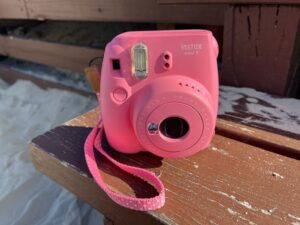
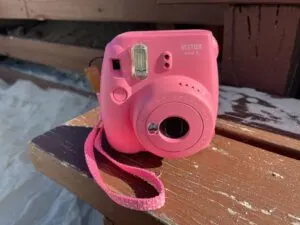
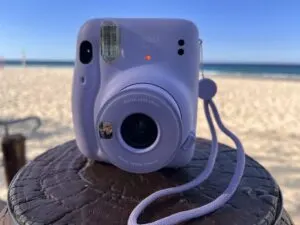
The Fujifilm Instax Mini 11 is the ideal camera for an instant photography newbie. Available in five cool and modern colors (Blush Pink, Sky Blue, Ice White, Charcoal Black, and Lilac Purple), the Mini 11 is pleasing but straightforward to use.
Read on as I explain everything you need to know about the Instax Mini 11, from “how to turn the flash off on Instax Mini 11” to taking care of the camera and various safety precautions.
Unboxing The Fujifilm Instax Mini 11
First, let us see what you get when purchasing Instax Mini 11.
There is a little to unpack. Apart from the instant camera itself, you get a wrist strap, two AA batteries, and two shutter button decorations with adhesives to add a little personal touch to the camera.
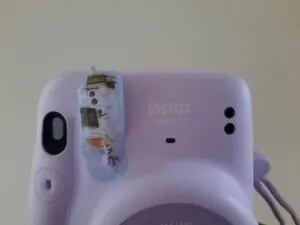
The shutter release accessories include one jewel-like button cover and another that glows in the dark. (The accompanying accessories are the same color as the camera.
For example, you will get pink shutter covers with the Blush Pink Mini 11.) All in all, you get everything you need to start clicking images.
Step-By-Step Guide Instax Mini 11 How To Use Guide
The Fujifilm Instax Mini 11 replaced older instant cameras from the Fuji Mini Instax camera. The Mini 9 was hailed as a budget-friendly option for easy usage and maintenance.
Fujifilm took instant cameras to another level.
Unlike the Mini 9, with the Mini 11, there is no need to change exposure settings manually for different ambiances, and taking selfies requires no external lens attachment.
I am not saying that Fujifilm has perfected instant film cameras with the Mini 11, but it is similar in the price range.
The Instax Mini 11 still uses the affordable instant film pack of Instax Mini film, roughly the size of a credit card. Its simplicity, affordability, and functionality make it an excellent instant camera.

How To Use Instax Mini 11
To operate the Mini 11, you should follow these 13 steps (I will discuss each step further down the article).
Materials
- Instax Mini 11 camera
- Instax film
- 2 x AA batteries
Instructions
- Insert the two AA batteries in the battery compartment on the grip side of the Instax Mini 11.
- Load the film cartridge into the back of the instant camera.
- Press the power button next to the lens barrel to turn on the Instax Mini 11. (Only use the Fujifilm Instax Mini instant film pack)
- Click the shutter button to eject the Instax film cover.
- Once the photo counter at the back switches from “S” to “10,” you can start clicking photos using the shutter button.
- There is no need to set the exposure; the camera automatically determines the shutter speed based on the lighting.
- Once you take the photo, wait for the film to pop out from the film slot.
- Remove the ejected film by holding it from the edges.
- The image will take approximately 90 seconds to develop.
- To take a selfie, turn the camera around, facing the lens towards you.
- Pull out the lens rim further to activate selfie mode. ( You will see the “SELFIE ON” printing on the popped-out lens barrel.)
- Use the selfie mirror on the camera body to fix the frame and click the shutter button.
- Push the lens barrel back inside to switch off the camera, whether in standard or selfie mode. Here’s my helpful guide on switching off (or on) the Instax Mini 11 and activating selfie mode.
Following the steps mentioned above will have you take excellent photos with the Fujifilm Instax Mini 11. However, there are a few things to understand while following each of these steps, which I discuss below in detail.
Inserting the Batteries in the Fujifilm Instax Mini 11
Locate the battery compartment on the grip side of the Mini 11 Instax camera to insert batteries. Use your thumb to slide down the compartment cover. Place two AA (LR6) batteries inside. Once secure, slide the lid back on.

The batteries should last you for ten film packs, with ten exposures inside each packet. So, the Fujifilm Instax Mini 11 is suitable for taking 100 photos once you put in new batteries.
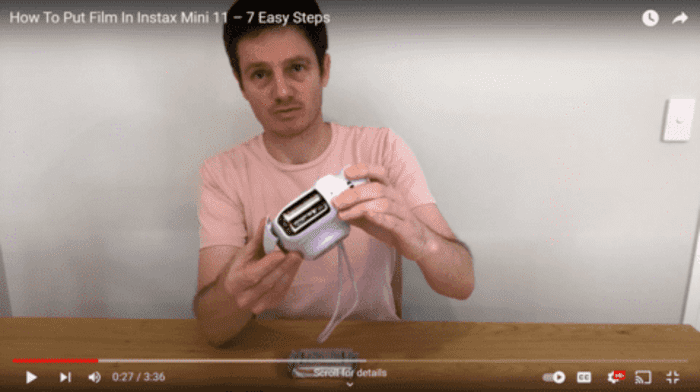
Loading Instant Film Pack in the Into The Fujifilm Instax Mini 11
Find the cover at the back to load the Instax Mini Instant film pack into the camera. To unlock the film compartment, gently press the latch while securely holding the camera in your other hand.
Now place the film pack inside the case, lining up the yellow line on the cartridge with the one on the camera. Please do not press the film pack, or you can damage it.
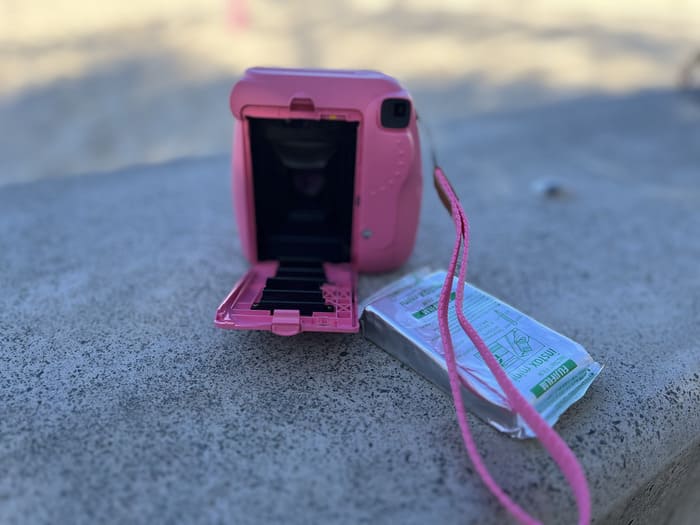
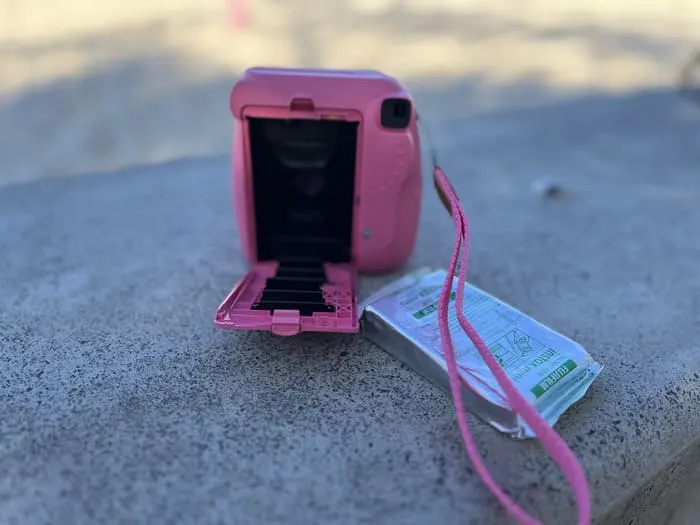
Close the door until you hear the latch click into place. Minimize film exposure from external elements and avoid direct sunlight as you load the pack in the Mini 11.
Once the film is in, do not open the compartment again.
If you do not have a new camera and are looking to replace a used film pack, check the shot counter at the back, it will show the number of shots left and if you need a cartridge inside.
If you need to confirm that a film is inside the compartment, look at the film confirmation window, which will be yellow.
Removing The Instant Film Cover From Instax Mini 11
Once the film pack is inserted, turn on the camera by clicking the on/off button beside the lens. As you do so, the Fujifilm Instax Mini 11’s lens barrel will pop out, indicating your camera is turned on.
The first ” shot ” is blank when you have a new film pack inside the camera, and the first “shot” is blank. Technically, it is not a shot at all.
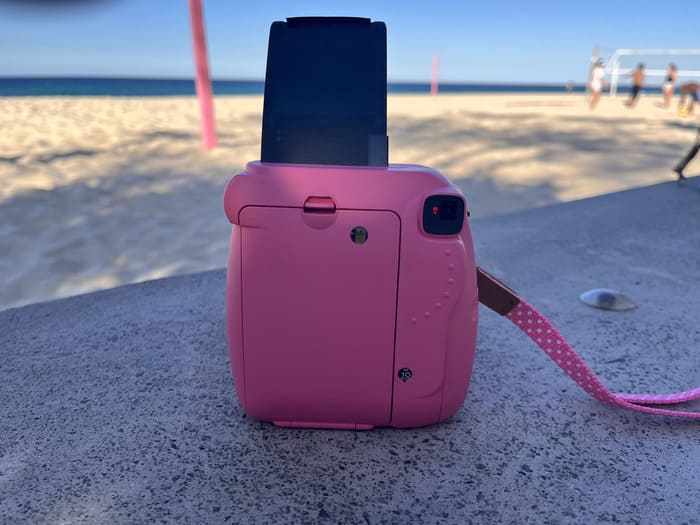
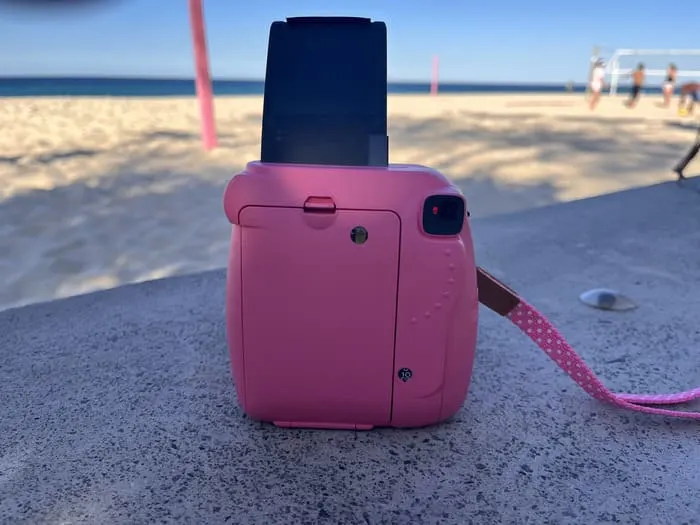
When you hit the shutter switch once your camera is on, the instant film cover protecting it from damage is the first blank sheet that ejects from the film slot.
Hold the expelled film from the sides and take it out. The counter will move from “S” to “10.”
After the cover is removed, you can start taking pictures. Thus, do not start posing for the first “photo.”
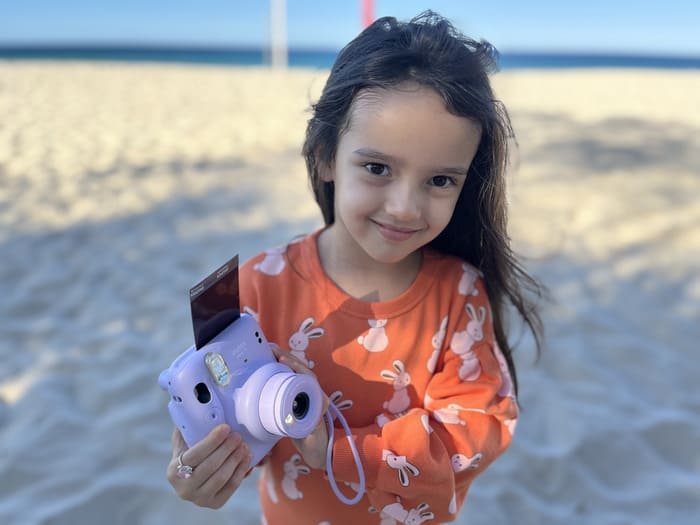
Taking Photos with the Instax Mini 11
Taking photos with the Mini 11 is pretty straightforward. Once the film is loaded and the film cover has been expelled, press the shutter button to take pictures.
Remember that the shutter control will only click once the flash has charged. If the flash lamp is still blinking, it’s still charging.
You can click the shutter control to capture an image once the lamp lights up.
The flash recycles time with new batteries is 6.5 seconds but can be longer with old batteries. To check the framing, look at the subject through the viewfinder.

However, the viewfinder does not look through the lens like in a more professional camera, like the DSLR. Therefore, there are discrepancies between what you see in the viewfinder and what emerges in the image.
This is much more evident when the subject is at a close range. Once you keep using the camera, you will better understand how the framing works.
When you are happy with the framing, press the shutter control.
The picture will eject from the fil slot. Take it out by holding it from the edge after the sound stops. The photo will take about a minute and a half to fully develop.
If the Mini 11 film is coming out white, your film has been exposed to light or heat and rendered useless. You will need to insert a new film pack.
If there is some other malfunction, you can troubleshoot by ejecting the batteries while the camera is powered on and putting them back in again.
Using the Mini 11 is much easier than its predecessor, the Mini 9. Since you do not have to change the exposure, the camera adjusts the flash and shutter speed.
Even though the auto-exposure makes it a click-and-go camera, it does curb creative control.
Another problem with auto-exposure is that shooting scenarios with bright and dull backgrounds can be challenging. When shooting outdoors, you cannot turn off the built-in flash, which is not necessarily needed in bright daylight.
Therefore, when taking photos with the Mini 11, you should expect image quality to suffer in bright and dark scenes, where something like exposure compensation would be handy.
Even with colorful subjects and bright backgrounds, the Mini 11 performs better than the Mini 9.
The flash brightens up the scene much better, but it still is no match for a Mini 70, which presents more creative control and has advanced features – albeit for a higher price.
The charm of the Mini 11 is its basicness and fuss-free usage.
The best pictures from the Mini 11 will be in moderate lighting conditions and within the effective flash range of 0.3 to 2.7 meters.
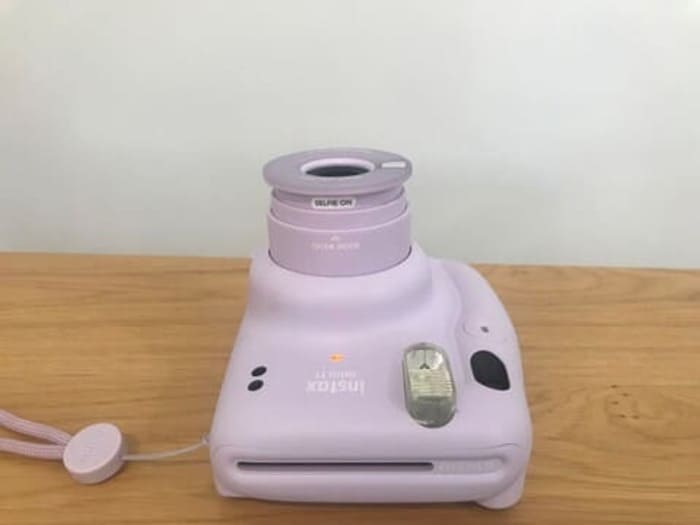
Pulling The Lens Barrel Out For Selfie Mode
Taking selfies with the Mini 11 is as easy as taking regular pictures. Switch on the camera by pressing the on/off button next to the lens barrel and pull on it until the “SELFIE ON” mark appears on the extended part.
The shooting range for selfie mode is between 30 to 50 cm, so make sure your face is within the range. However, there is no self-timer.

Use the selfie mirror to confirm the framing of the image and press the shutter. Your selfie will eject from the film slot. Take the photo out after the sound stops and give it 90 seconds to develop.
If you want to use the camera in the normal mode after taking the selfie mode, push the lens barrel in, effectively switching the camera off and turning it on again using the power button.
Taking Close-Up Shots With the Mini 11 Instant Camera
Selfie mode is also suitable for taking close-up shots of various subjects with better clarity.
Pull out the lens barrel until you engage in selfie mode to take close-up shots. Once the mark appears, you can take the image normally.


I have already discussed the slight difference in image centers, especially at a closer range with the viewfinder.
To rectify this, instead of lining up the mark on the viewfinder to the center of the image, you should aim for the slight upper right corner of the subject to get the perfectly centered photo.
Ideal Distances For Instant Photography With Instax Mini 11
When taking a picture from the Instax Mini 11, remember that the effective flash range is from 0.3 to 2.7 cm, which provides adequate indoor lighting. Thus, ensure that the subject is at least 0.5 m from the camera for a more distinct shot in normal mode.
Switch to selfie mode for anything closer than 0.5 m, with a cincher range of 0.3 to 0.5 m.
Safety Precautions and Handling When Using The Fujifilm Instax Mini 11
Safety Precautions and Handling When Using The Fujifilm Instax Mini 11
Here are some pointers to keep in mind when using the Instax Mini 11:
- The camera can produce electric shock because of high voltage circuitry, ensuring it’s not disassembled or touched if the insides are exposed due to mishandling.
- If you smell something burning, see smoke, or feel the batteries becoming hot, remove them carefully to prevent possible burns or fire.
- Use the suggested AA (LR6) batteries only. Insert batteries as guided in the manual.
- Ensure the camera stays dry and your hands are not wet.
- Using straps other than the one with the Mini 11 ensures strength compared to the camera’s weight.
- Take the battery out and store the camera in a cool, dry place in the dormancy.
- Avoid dust build-up on the viewfinder window by cleaning it periodically with a soft cloth or an air blower. (DO NOT use alcohol or thinner.)
- Store the film in a cool place and use it immediately after inserting it into the camera.
- Instant films expire; check the date on the package.
- Keep photos away from intense light and heat.
- Cutting and damaging film can expose you to black caustic alkali paste, which is dangerous. If touched, wash with water and seek medical help.
Instax Mini 11 How To Use FAQs
How To Turn Flash Off on Instax Mini 11?


The Instax Mini 11 is a primary instant camera focusing more on making it user-friendly rather than feature-heavy. Therefore, you cannot turn off the flash in the Mini 11. The built-in flash is automatic and constantly fires, with no option to turn it off.
However, it adjusts itself according to the lighting and the shutter speed.
In more expensive mini cameras, you can shoot in modes where the flash won’t fire or are given the option to turn it off completely. For the flexibility to turn the flash on and off, opt for higher-priced instant cameras like the Mini 90.
How Do I Take Pictures With My Instax Mini 11?
Ensure the batteries and film are inserted to take a picture with the Instax Mini 11. After that, press the power button next to the lens barrel, which will release the lens, indicating the camera is on. The flashlight lamp will blink and then steady itself, showing that the camera is ready to shoot.
Once the flash charging lamp lights up, locate your object through the viewfinder and take a picture using the shutter control. Wait for the ejection sound to stop before taking the ejected photo out of the film slot – it will take 90 seconds to develop. Let the flash charge and light up again before taking another picture.
How To Turn On Instax Mini 11?


To turn on an Instax Mini 11, press the power button next to the lens barrel. Once you press the button, the lens will be released, indicating that the camera has turned on. Now, you can take pictures by clicking the shutter. If the shutter control does not work, make sure the flashlight is not charging and has lit up.
Once done, switch the camera off by pressing the barrel back into the body.
Can You Turn The Flash Off On Instax Mini 11?

You cannot turn the flash off in Instax Mini 11 since it is a fairly basic camera in the Fujifilm mini instant camera range. However, the constant firing flash does adjust automatically to various light settings.
If you want an Instax mini camera that allows you to turn off the flash, go for the pricier and more advanced Mini 90.
How Do You Get The Shutter Button On The Instax Mini 11?

The shutter release button on the Instax Mini 11 is right next to the viewfinder on the camera’s front panel. You must wait for the Instax Mini 11 flashing orange light to charge and stop blinking to use the button. Once the light is on and steady, you can press the shutter release to take a photo.
The camera has two shutter buttons; one glows in the dark, and another is jewel-like. Double-sided tape is provided to attach the selected button to the shutter control. However, the adhesive usually needs to do a better job of sticking the button on.
Using The Instax Mini 11: My Verdict
Using the Mini 11 is simple. After inserting the batteries and film, click the on/off button next to the lens barrel to release it and take pictures using the shutter control next to the viewfinder.
To use the selfie mode, pull the barrel lip. Once engaged, use the selfie mirror to frame the image, and click the shutter to take a selfie.
The Mini 11’s straightforward two-button operation makes it a breeze even for beginners.